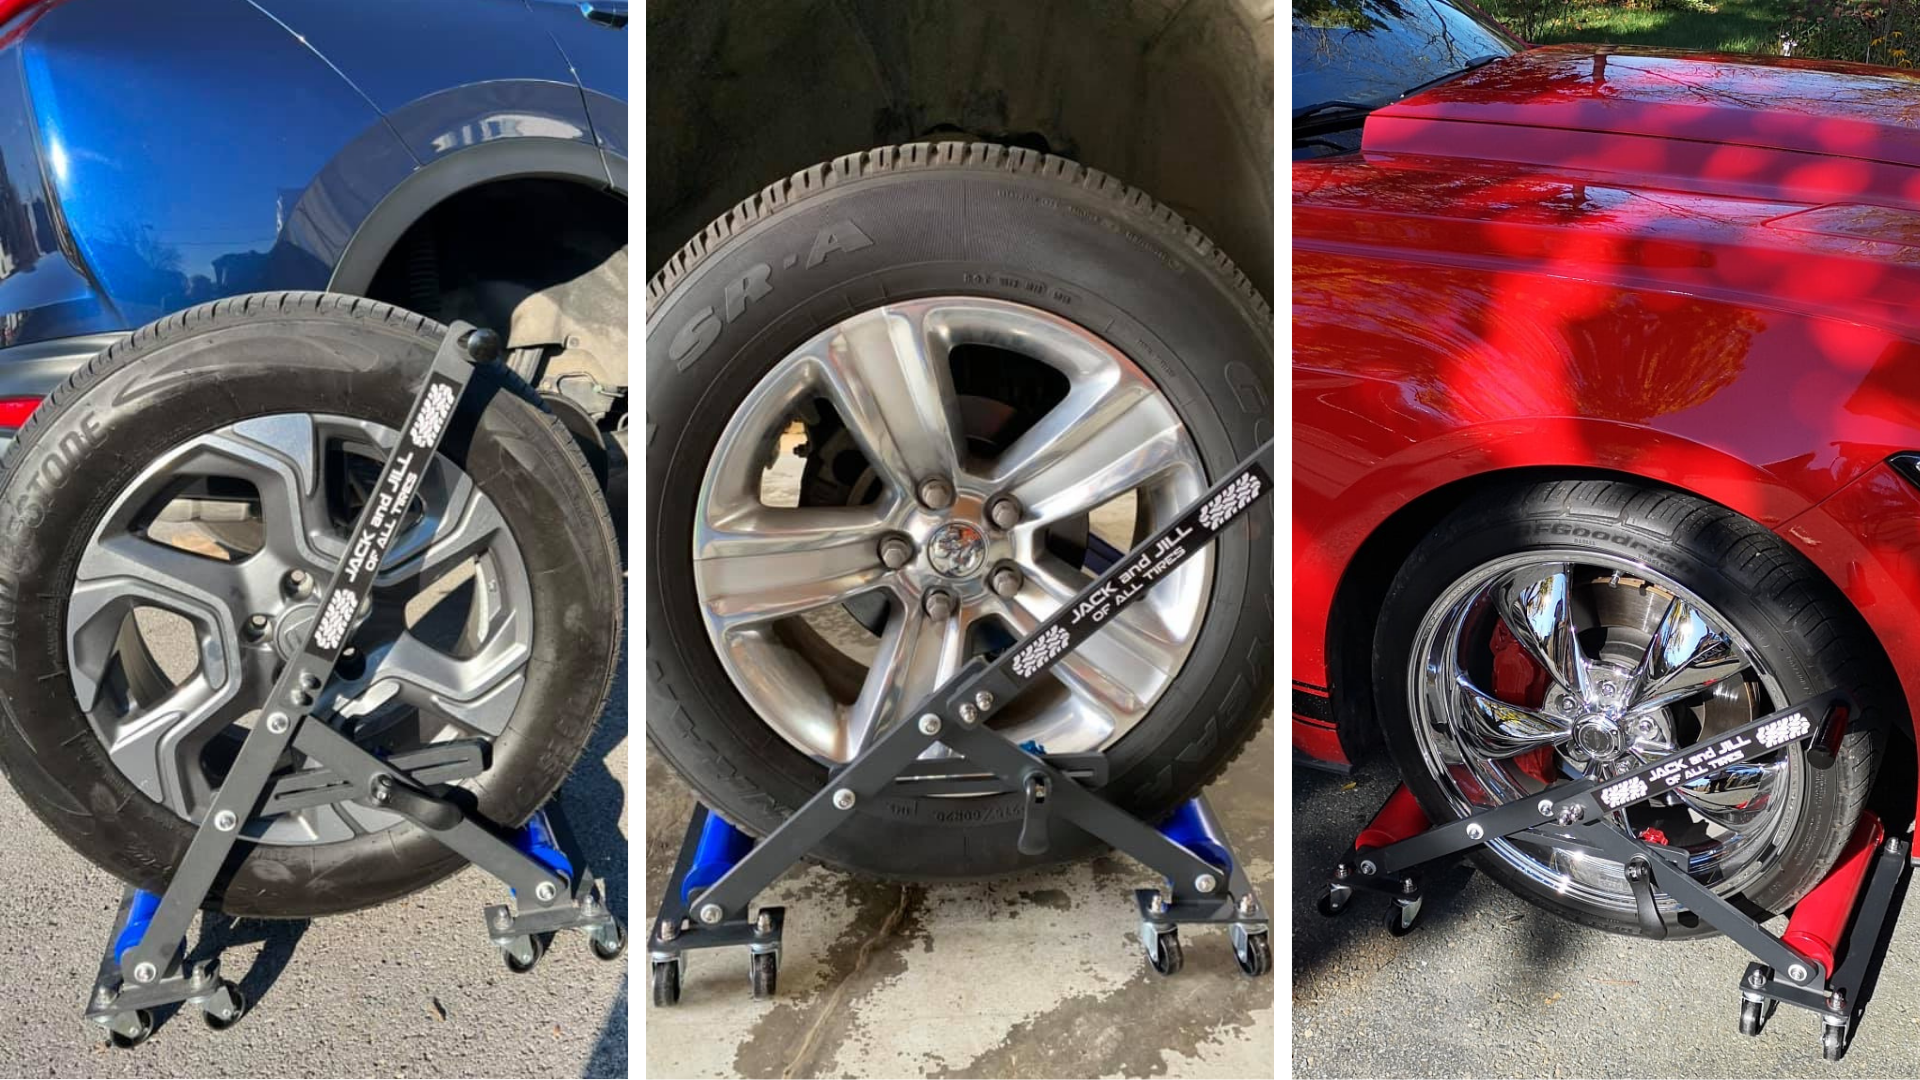
If you’ve never done it before, learning how to change a tire yourself can feel like a bigger job than it really is. But once you understand the process, it’s much more manageable than you might think. From preparing your vehicle and loosening the lug nuts to swapping the wheel and tightening everything back up, knowing what to expect can make all the difference. This guide walks you through each step, so your first tire change feels familiar before you start.
What You Need Before You Learn How to Change a Tire Yourself
Having everything within arm’s reach makes the job faster and safer. Gather:
- A floor jack to lift the car
- Jack stands (a floor jack lifts the car, jack stands hold it)
- A lug wrench or breaker bar
- A torque wrench
- Wheel chocks
- Your spare or seasonal tire, inflated and ready
- Work gloves and your owner’s manual
- The Jack and Jill of All Tires to support and move the tire
Our tools checklist explains what we’d keep on hand and why.
Step 1: Park on Flat, Solid Ground
Flat, solid ground matters more than anything else on this list. A driveway or garage is ideal. Avoid soft ground, gravel, and slopes, since a lifted car can shift on an incline.
Put the car in park (or in gear if it’s a manual), set the parking brake, and place wheel chocks against the tires on the opposite end of the car from the one you’re lifting.
Step 2: Loosen the Lug Nuts First
This is the step beginners most often skip, and it causes the most frustration. If the tire is already in the air, it just spins when you push on the wrench.
With the tire still on the ground, turn each lug nut counterclockwise about a half turn. You’re only breaking them loose, not removing them. If a nut won’t budge, a breaker bar gives you extra leverage.

Step 3: Lift the Car and Add Jack Stands
Check your owner’s manual for the reinforced lift points on your vehicle. Position the floor jack under the correct point and lift until the tire is clear of the ground.
Once the car is up, set a jack stand under a nearby frame point as backup. Never put any part of your body under a car supported only by a floor jack.
Step 4: Take the Tire Off Without Wrestling It
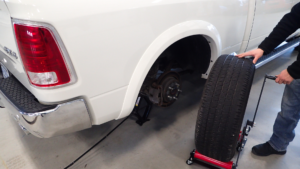
This is where many first-timers find the job is more physical than they expected. A tire and wheel typically weigh between 40 and 100 lb, which is a lot to manage when you’re kneeling or crouching while trying to keep the wheel balanced. And when you’re swapping all four tires, that physical effort can quickly add up.
With the Jack and Jill of All Tires, changing your tires becomes easier and more manageable by following these simple steps:
- Secure the Jack and Jill of All Tires under the wheel before removing the final few lug nuts
- Once secure, remove the lug nuts and set them aside.
- With one hand on the wheel and the other on the handle of the Jack and Jill of All Tires, pull the wheel off the vehicle
Step 5: Mount the New Tire
Lining the studs up with the holes on the wheel can be one of the more frustrating parts when changing your tires. With the Jack and Jill of All Tires, you’re able to spin the wheel on the rollers to line both the holes and studs up perfectly. Once lined up, simply push the wheel towards the hub and hand thread each lug nut back on.
Step 6: Lower the Car and Torque the Nuts
After threading the lug nuts back on, remove the Jack and Jill from the wheel and lower the car back down. Using a torque wrench, tighten the lug nuts in a star pattern to the vehicles torque specifications located in the owners’ manual.
Mistakes to Avoid on Your First Tire Change
Most first-time tire-changing mistakes come down to a few common oversights:
- Forgetting to secure the vehicle with the parking brake and wheel chocks
- Lifting the vehicle before loosening the lug nuts
- Positioning the floor jack at the wrong lifting point
- Tightening the lug nuts in a circle instead of a star pattern
- Guessing at tightness instead of using a torque wrench
- Forgetting to re-check the lug nut torque after the first 50 to 100 km of driving, as recommended by your vehicle or wheel manufacturer
That last step is particularly easy to overlook. After your first short drive, check the lug nut torque again according to the manufacturer’s recommendations. It’s also a good idea to double-check your tire pressure before hitting the road.
How to Change a Tire Yourself, With Less Heavy Lifting
The steps above don’t change from car to car. Lifting the car is easy with a floor jack. Handling the tire is the part people dread, and it’s what the Jack and Jill of All Tires was built for. It works alongside your jack, supporting the tire’s weight while you guide it off and back on.
Timing your swap? Our post on why 7°C is the magic number explains when winter tires make sense. You can also see the Jack and Jill of All Tires in the shop, watch it in action on the videos page, or read our complete step-by-step guide and FAQ for more detail.